Have you ever been kept awake by the sound of a dripping tap? It's not just a minor annoyance; a dripping mixer tap can waste a surprising amount of water, hiking up your water bill, and potentially causing damage over time. Often, the cause of a dripping mixer tap is more straightforward than many might assume and can typically be remedied with a bit of DIY know-how.
However, understanding the problem, knowing how to address it, and recognizing when professional help is needed are crucial steps in ensuring your plumbing remains in top condition without causing further issues. This article will guide you through the processes of diagnosing, repairing, and preventing future drips in your mixer tap.
Understanding Why Mixer Taps Drip
The most common reason for a mixer tap to begin dripping or leaking is an issue with the internal mechanism, usually the washer or the ceramic disc cartridge. Over time and through regular use, these components can wear out or become damaged, disrupting the tap's ability to completely halt the flow of water.
Spotting the Signs of a Faulty Mixer Tap
A tell-tale sign that your mixer tap needs attention is a persistent drip or leak. You might notice this from the spout or at the base where the tap meets the sink. If the handle is stiffer than usual or makes a squeaking sound, this could also indicate that the internal parts are beginning to wear out.
Isolating the Problem
Before attempting any repairs, determine whether the issue is with the hot or cold valve. You can do this by feeling the temperature of the water that's dripping. Once known, you’ll need to focus your repair efforts on the corresponding valve.
Tools You’ll Need
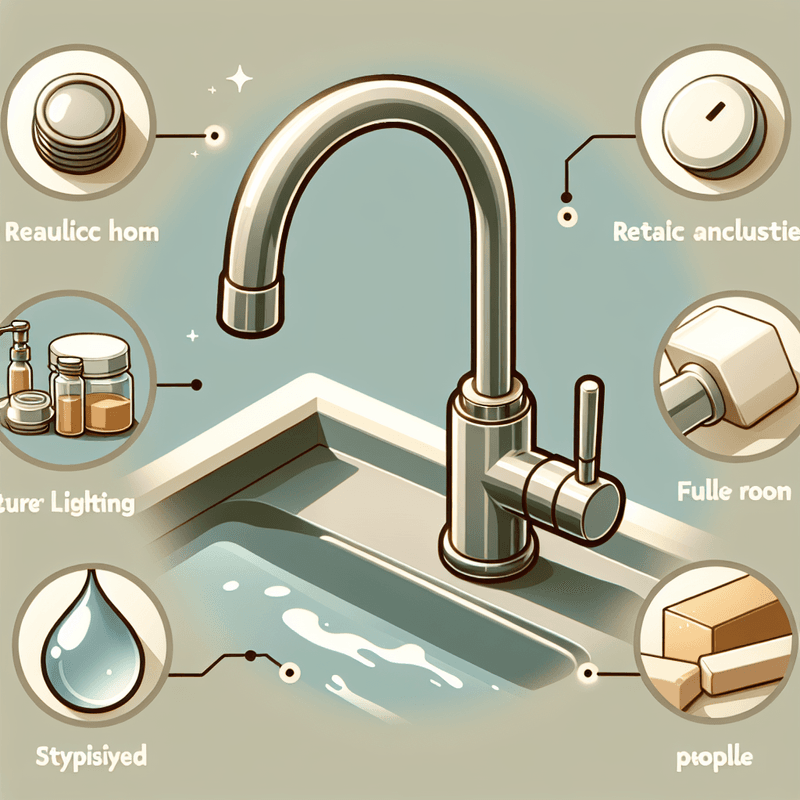
To fix a dripping mixer tap, you will need a few basic tools:
- An adjustable spanner
- Screwdrivers (both flat-head and Philips)
- Replacement washer or ceramic disc cartridge (depending on your tap type)
- Penetrating oil (for stiff or corroded parts)
- Cloth or rag to protect the tap’s finish
Step-by-Step Repair Guide
1. Turn Off the Water Supply: Always start by turning off the water supply to the tap. This is typically done via the isolation valves located under the sink.
2. Plug the Sink: Prevent small parts from falling down the drain by plugging the sink or placing a cloth over the drain hole.
3. Remove the Tap Handle: Unscrew the handle. You might need to remove a cap to access the screw that holds the handle in place.
4. Dismantle the Tap: Using the adjustable spanner, remove the nut that holds the cartridge or washer in place. Be gentle to avoid damaging the tap’s body.
5. Replace the Faulty Component: Once opened, replace the washer or cartridge. Make sure you’ve got the correct size and type; taking the old one with you to the store can help you find an exact match.
6. Reassemble the Tap: Once the new part is in place, reassemble the tap in the reverse order you took it apart.
7. Turn On the Water: Restore the water supply and check the tap for leaks or drips.
When to Call a Professional
While many mixer tap issues can be solved with a DIY approach, there are times when it's wise to call in a professional. If your tap continues to drip after you have replaced the washer or cartridge, or if the tap is damaged during your repair attempt, professional help might be necessary. Additionally, if plumbing is not your forte, seeking help from the start can save time and prevent potential damage.
Preventing Future Issues
Regular maintenance can help extend the life of your mixer tap. Regularly cleaning the tap and checking its components for signs of wear and tear can catch issues before they become problematic. Additionally, consider turning taps off gently rather than forcefully to reduce the pressure on the internal mechanisms.
Conclusion
Fixing a dripping mixer tap is often an easy fix that requires little plumbing knowledge and can save water and money over time. With the right tools and a steady hand, most drips can be remedied at home. However, know when the job is beyond a simple DIY fix and professional expertise is required. By maintaining and caring for your taps, you can ensure they operate efficiently for years to come.
Remember, the key to successful DIY plumbing is to proceed with caution, have the right tools on hand, and understand the steps involved. With this knowledge, not only can you stop that annoying drip, but also gain confidence in tackling common household repairs.


